ChatGPT로 랜딩 페이지 만들기 (Next.js + Tailwind CSS)
오늘은 ChatGPT를 활용하여 Next.js, TailwindCSS 로 제품 랜딩 페이지 만들었던 과정을 소개해보려고 합니다. 만드는 과정은 아래와 같습니다.
- ChatGPT에게 원하는 제품 설명 하기
- ChatGPT에게 Section 정의와 함께 요구사항을 주며 Next.js, TailwindCSS 로 코드 작성 요청하기
- ChatGPT에게 부족한 코드 작성 요청
- ChatGPT에게 비어 있는 코드 작성 요청
- ChatGPT에게 오류 알려주고 오류 수정 하기
- 테스트 및 수정 보완 작업
그럼 위의 순서대로 진행해보겠습니다.
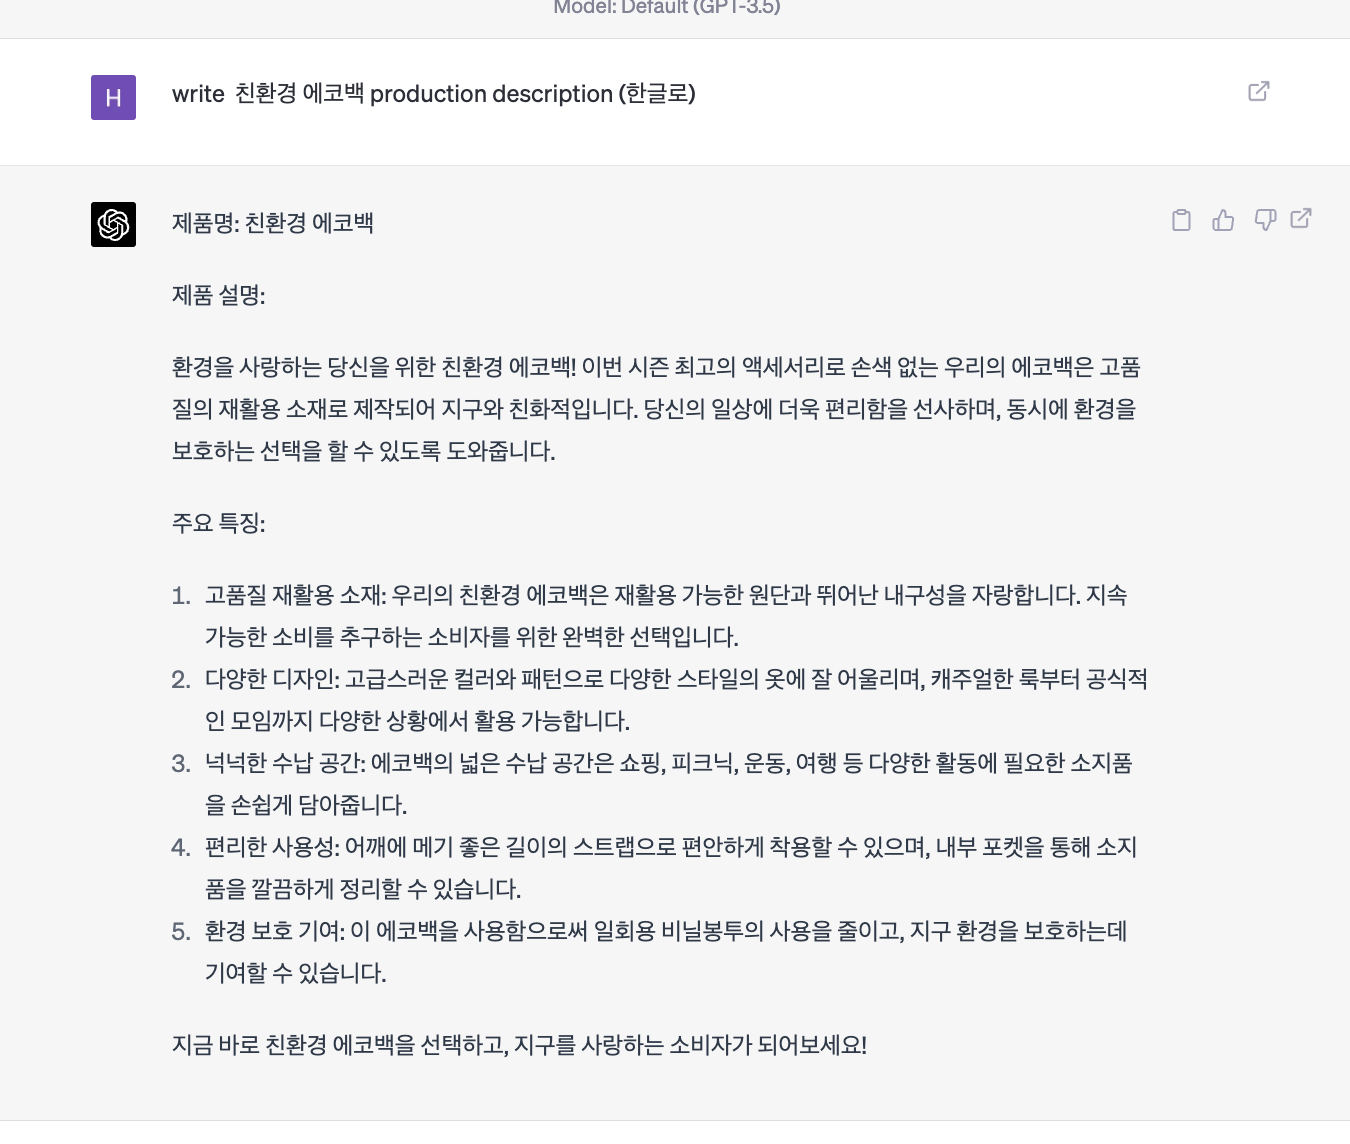
1. ChatGPT에게 원하는 제품 설명 하기
먼저 ChatGPT에게 아래와 같이 원하는 제품의 설명을 요청 해봅니다.
write 친환경 에코백 product description (한글로)
2. ChatGPT에게 Section 정의와 함께 요구사항을 주며 Next.js, TailwindCSS 로 코드 작성 요청하기
위에서 작성된 제품 상세 내용을 기반으로 코드 작성을 요청 해봅니다.
I'm trying to develop a simple landing pages with nextjs, typescript, tailwindcss, modern ui/ux style, component based, responsive. give me the step by step guide with code example.

1. landing page topic
- 친환경 에코백

2. Pages
1) Home
- Sections: Hero Sections, Features, CTA sections, Blog sections, News letter sections,

2) Price
- Sections: pricing Sections,

3) Blog
- Sections: Blog sections

4) About
- Sections: About sections, Testmonicals,

5) Contact
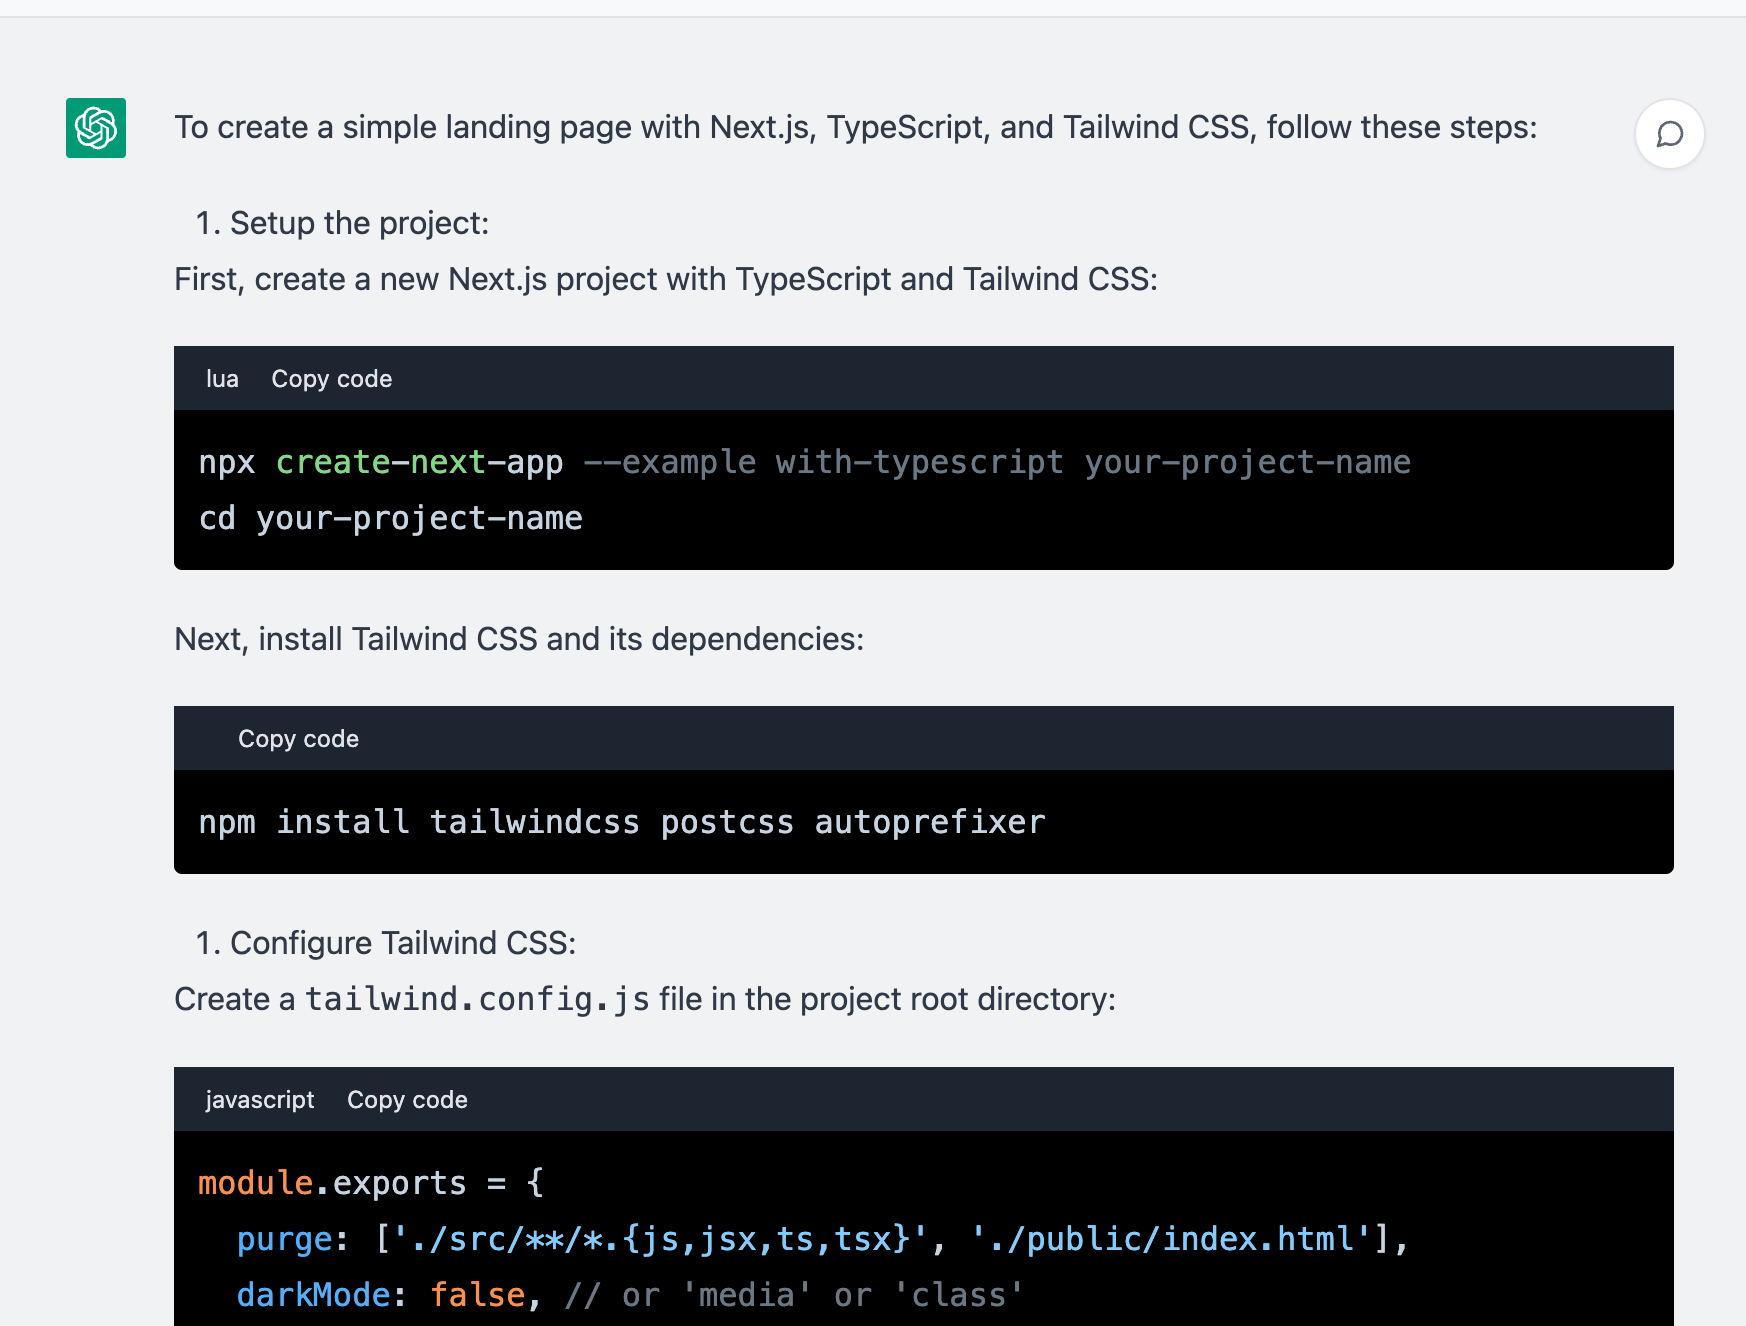
To create a simple landing page with Next.js, TypeScript, and Tailwind CSS, follow these steps:
Setup the project:
First, create a new Next.js project with TypeScript and Tailwind CSS:
npx create-next-app --example with-typescript your-project-name
cd your-project-name
Next, install Tailwind CSS and its dependencies:
npm install tailwindcss postcss autoprefixer
Configure Tailwind CSS:
Create a tailwind.config.js file in the project root directory:
module.exports = {
  purge: ['./src/**/*.{js,jsx,ts,tsx}', './public/index.html'],
  darkMode: false, // or 'media' or 'class'
  theme: {
    extend: {},
  },
  variants: {
    extend: {},
  },
  plugins: [],
}
Create a postcss.config.js file in the project root directory:
module.exports = {
  plugins: {
    tailwindcss: {},
    autoprefixer: {},
  },
}
Import Tailwind CSS:
In the _app.tsx file, import the tailwind.css file:
import '../styles/tailwind.css';

function MyApp({ Component, pageProps }) {
  return <Component {...pageProps} />
}

export default MyApp;
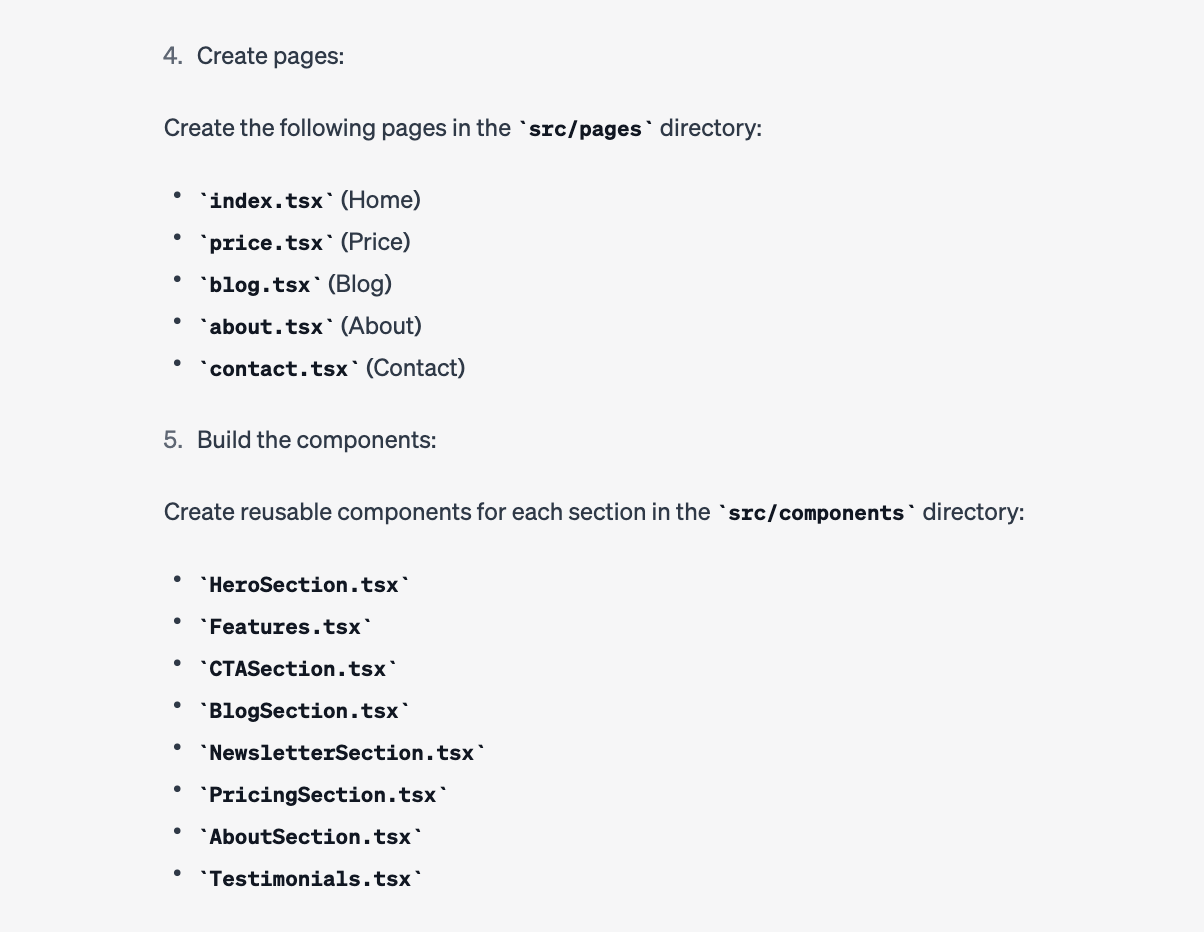
Create pages:
Create the following pages in the src/pages directory:
index.tsx (Home) price.tsx (Price) blog.tsx (Blog) about.tsx (About) contact.tsx (Contact)
Build the components:
Create reusable components for each section in the src/components directory:
HeroSection.tsx Features.tsx CTASection.tsx BlogSection.tsx NewsletterSection.tsx PricingSection.tsx AboutSection.tsx Testimonials.tsx
Use the components in pages:
In each page file, import and use the corresponding components to build the page. For example, in index.tsx:
import HeroSection from '../components/HeroSection';
import Features from '../components/Features';
import CTASection from '../components/CTASection';
import BlogSection from '../components/BlogSection';
import NewsletterSection from '../components/NewsletterSection';

export default function Home() {
  return (
    <div>
      <HeroSection />
      <Features />
      <CTASection />
      <BlogSection />
      <NewsletterSection />
    </div>
  );
}
Make the site responsive:
Tailwind CSS is mobile-first, so use its utility classes to create responsive designs. For example, in the HeroSection.tsx:
function HeroSection() {
  return (
    <section className="text-center py-10 md:py-16 lg:py-24">
      <h1 className="text-2xl md:text-4xl lg:text-6xl font-semibold">친환경 에코백</h1>
      <p className="mt-4 text-md md:text-xl lg:text-2xl">환경을 사랑하는 당신을 위한 친환경 에코백</p>
    </section>
  );
}

export default HeroSection;
You can find more about responsive design with Tailwind CSS in their official documentation.
Follow these steps to create a landing page for 친환경 에코백 using Next
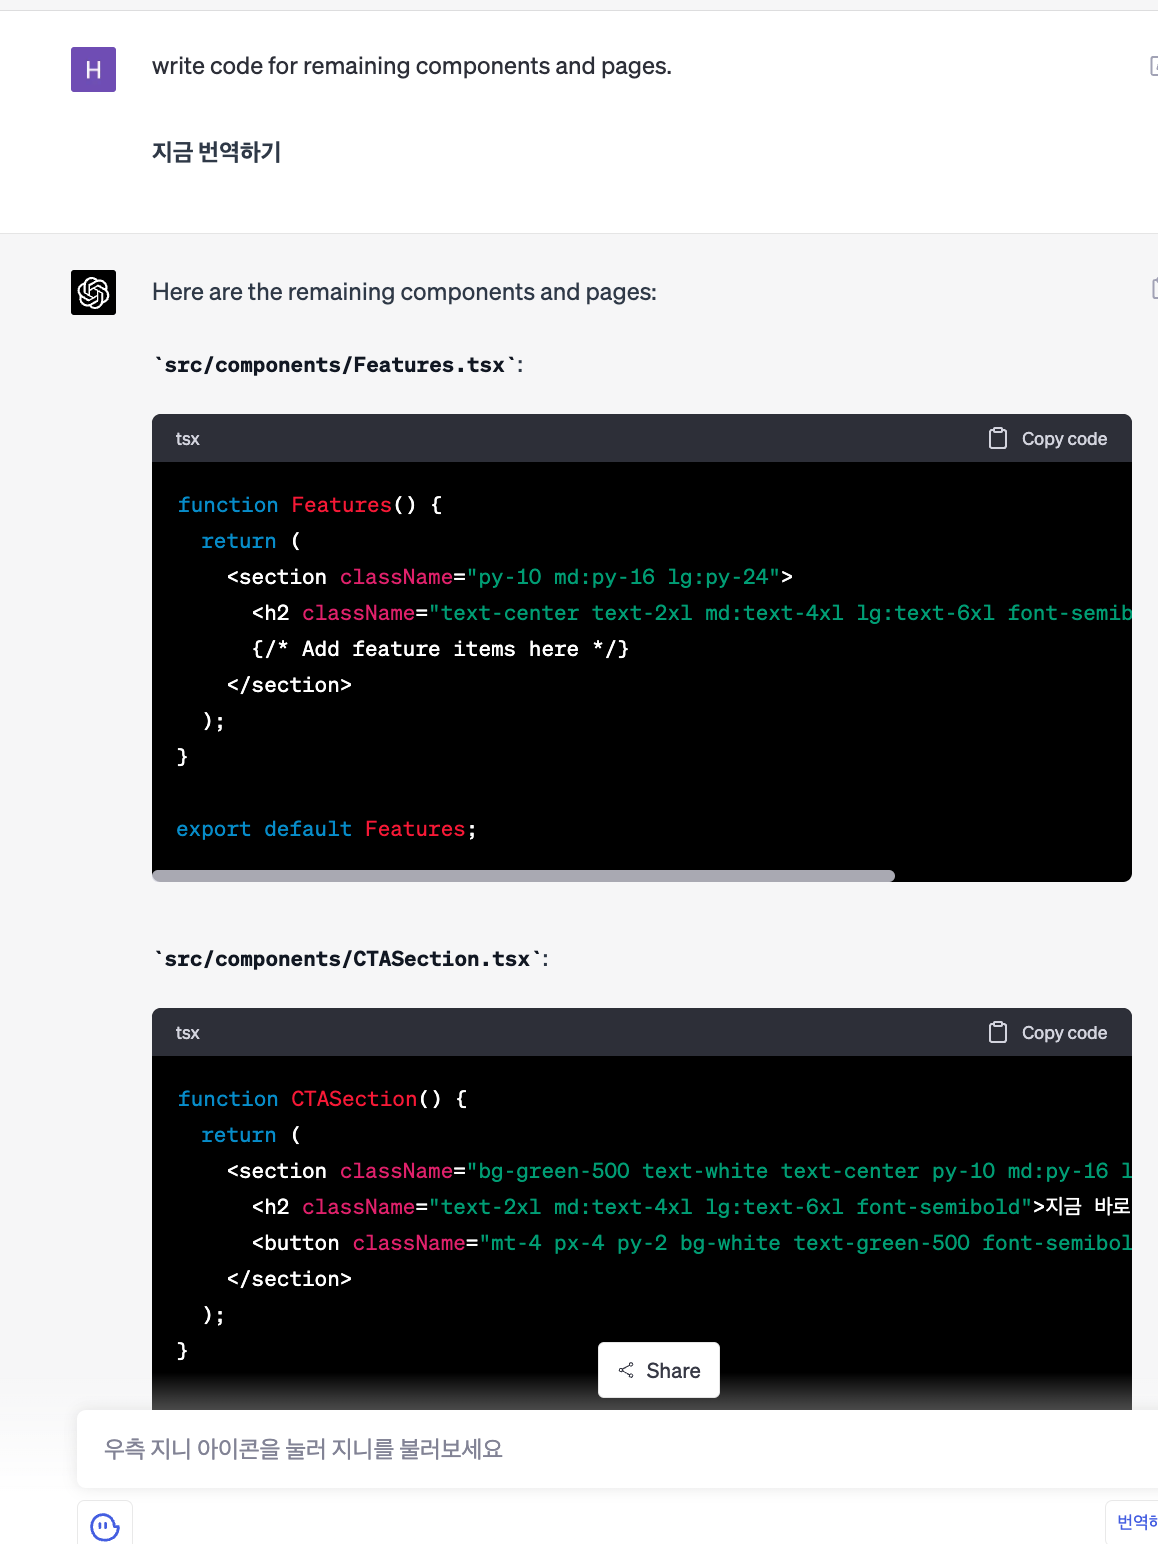
3. ChatGPT에게 부족한 코드 작성 요청
한번에 좋은 결과가 나오기에는 아직 ChatGPT의 길이 한계로 인해 쉽지 않습니다. 그래서 아래와 같이 부족한 부분의 코드 작성을 요청 합니다.
write code for remaining components and pages.
그럼 위의 그럼과 같이 아직 작성하지 않은 코드를 작성 해줍니다. 기능이 큰 페이지의 경우 컴포넌트 단위로 작성을 요청하면 좋습니다.
4. ChatGPT에게 비어 있는 코드 작성 요청
그리고 위에서 만들어진 코드 중간 중간 주석과 함께 Add SOMETHING items here로 되어 있어 제부 기능을 작성하라고 되어 있는 경우가 있는데. 아래와 같이 비어 있는 코드를 작성을 요청 해봅니다.
write complete code for '/* Add SOMETHING items here */' part
남은 코드와 비어 있는 코드를 작성해도 부분부분 누락된 파일 들이 있을수 있는데 그때는 위에서 정리된 파일 리스트를 기반으로 아래와 같이 작성 요청을 할수 있습니다.
write components/Features.tsx
5. ChatGPT에게 오류 알려주고 오류 수정 하기
기본적인 코드들을 작성해두고 나면 아래와 같이 오류가 발생하는 부분을 알려주고 오류를 수정하라고 요청을 할수 있습니다.
저는 크게 스타일 미적용, 레이아웃 및 메뉴 미적용, 레이아웃 오류, 레이아웃 누락, 특정 페이지 오류 등의 문제가 있었습니다. 그래서 하나씩 수정을 요청 해보았습니다.
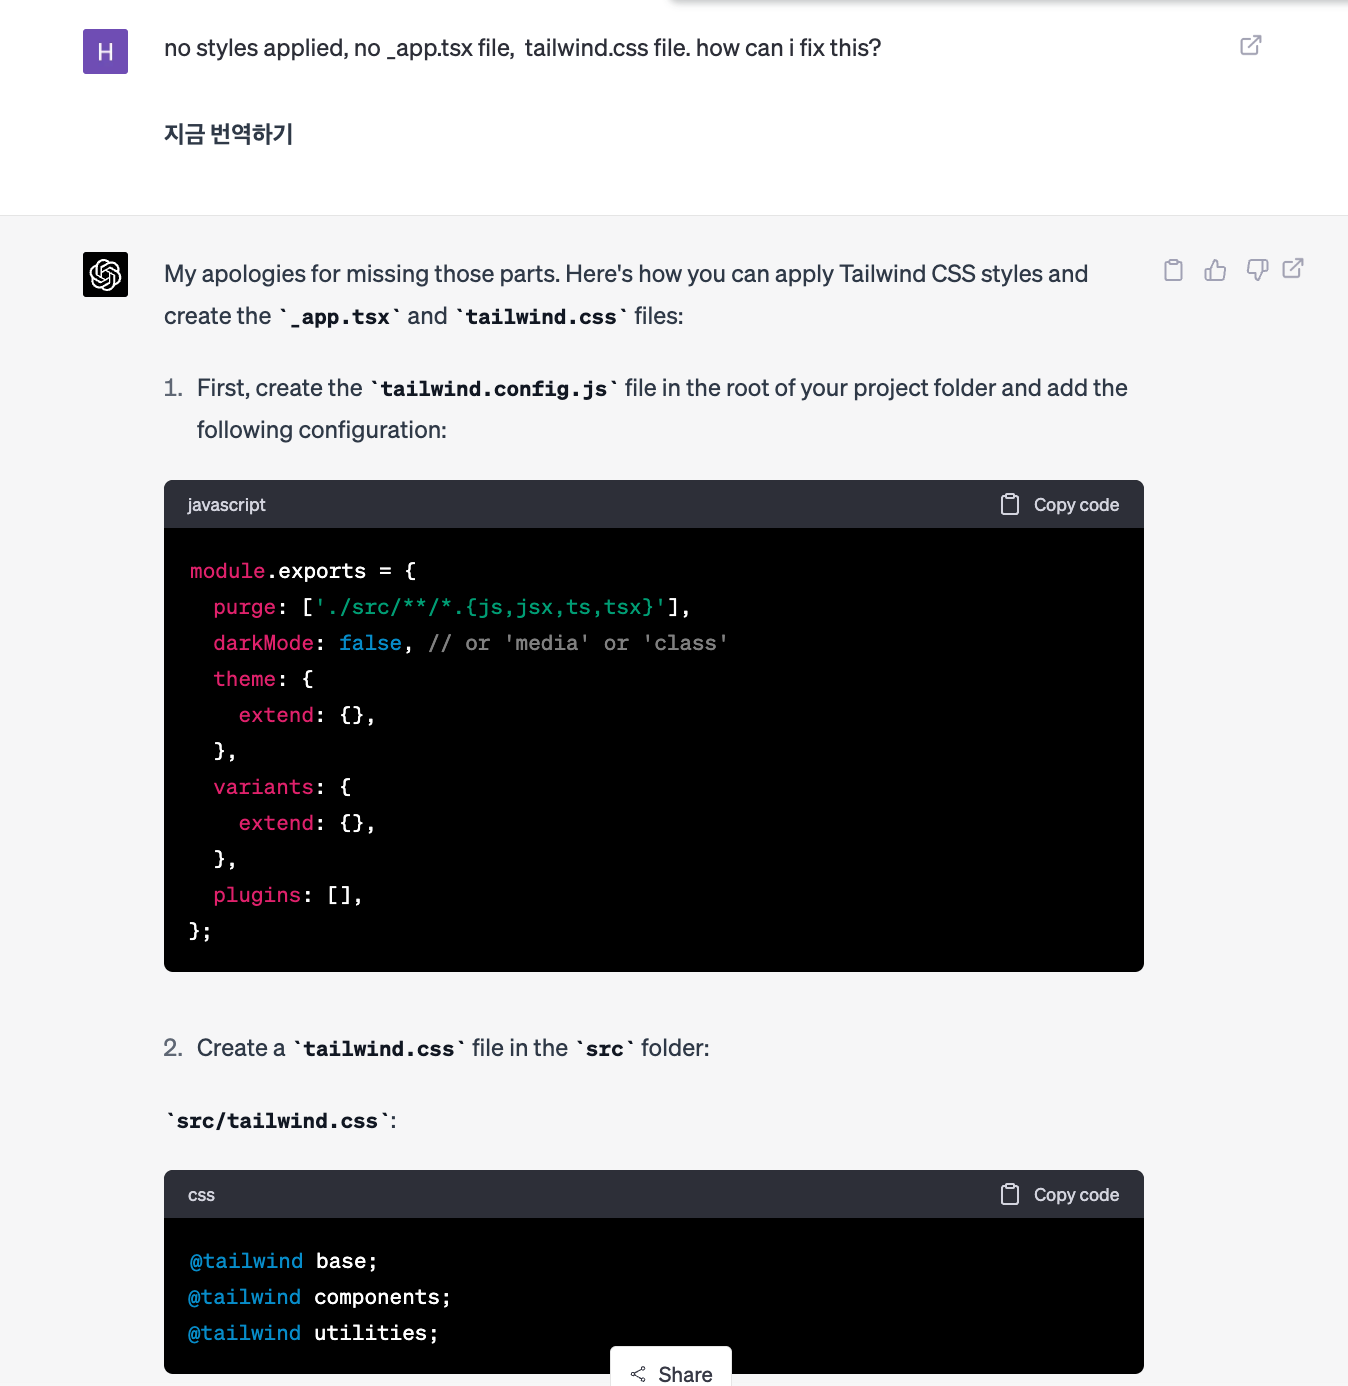
1) 스타일 미적용
no styles applied, no _app.tsx file, tailwind.css file. how can i fix this?

2) 레이아웃 및 메뉴 미적용
there is no layout and menu items. Please add menu strucuture
3) 페이지 오류 수정 요청
Error: Invalid <Link> with <a> child. Please remove <a> or use <Link legacyBehavior>. how to fix
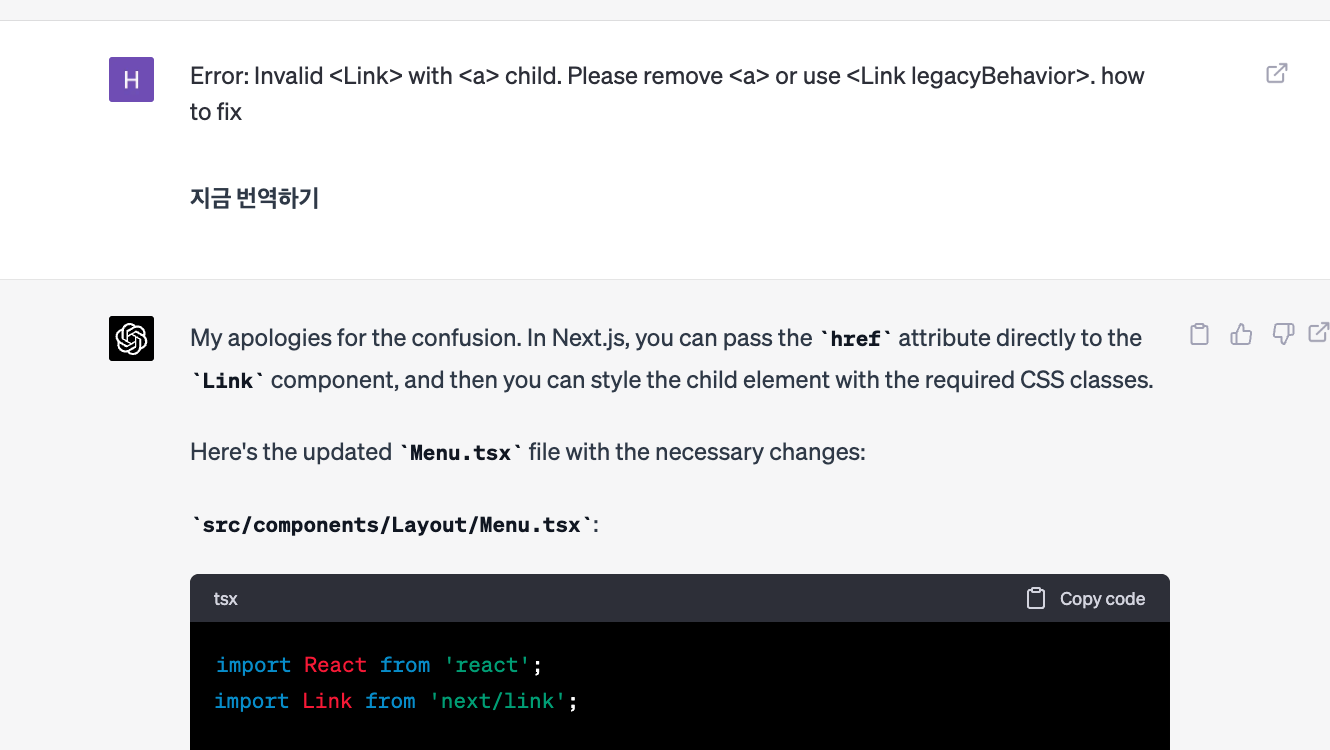
위와 같이 페이지 오류에 대한 원인을 찾아주는데 한번에 원하는 답을 주지는 못했고 사전 지식과 경험을 바탕으로 해결 방법을 찾아야 했습니다.
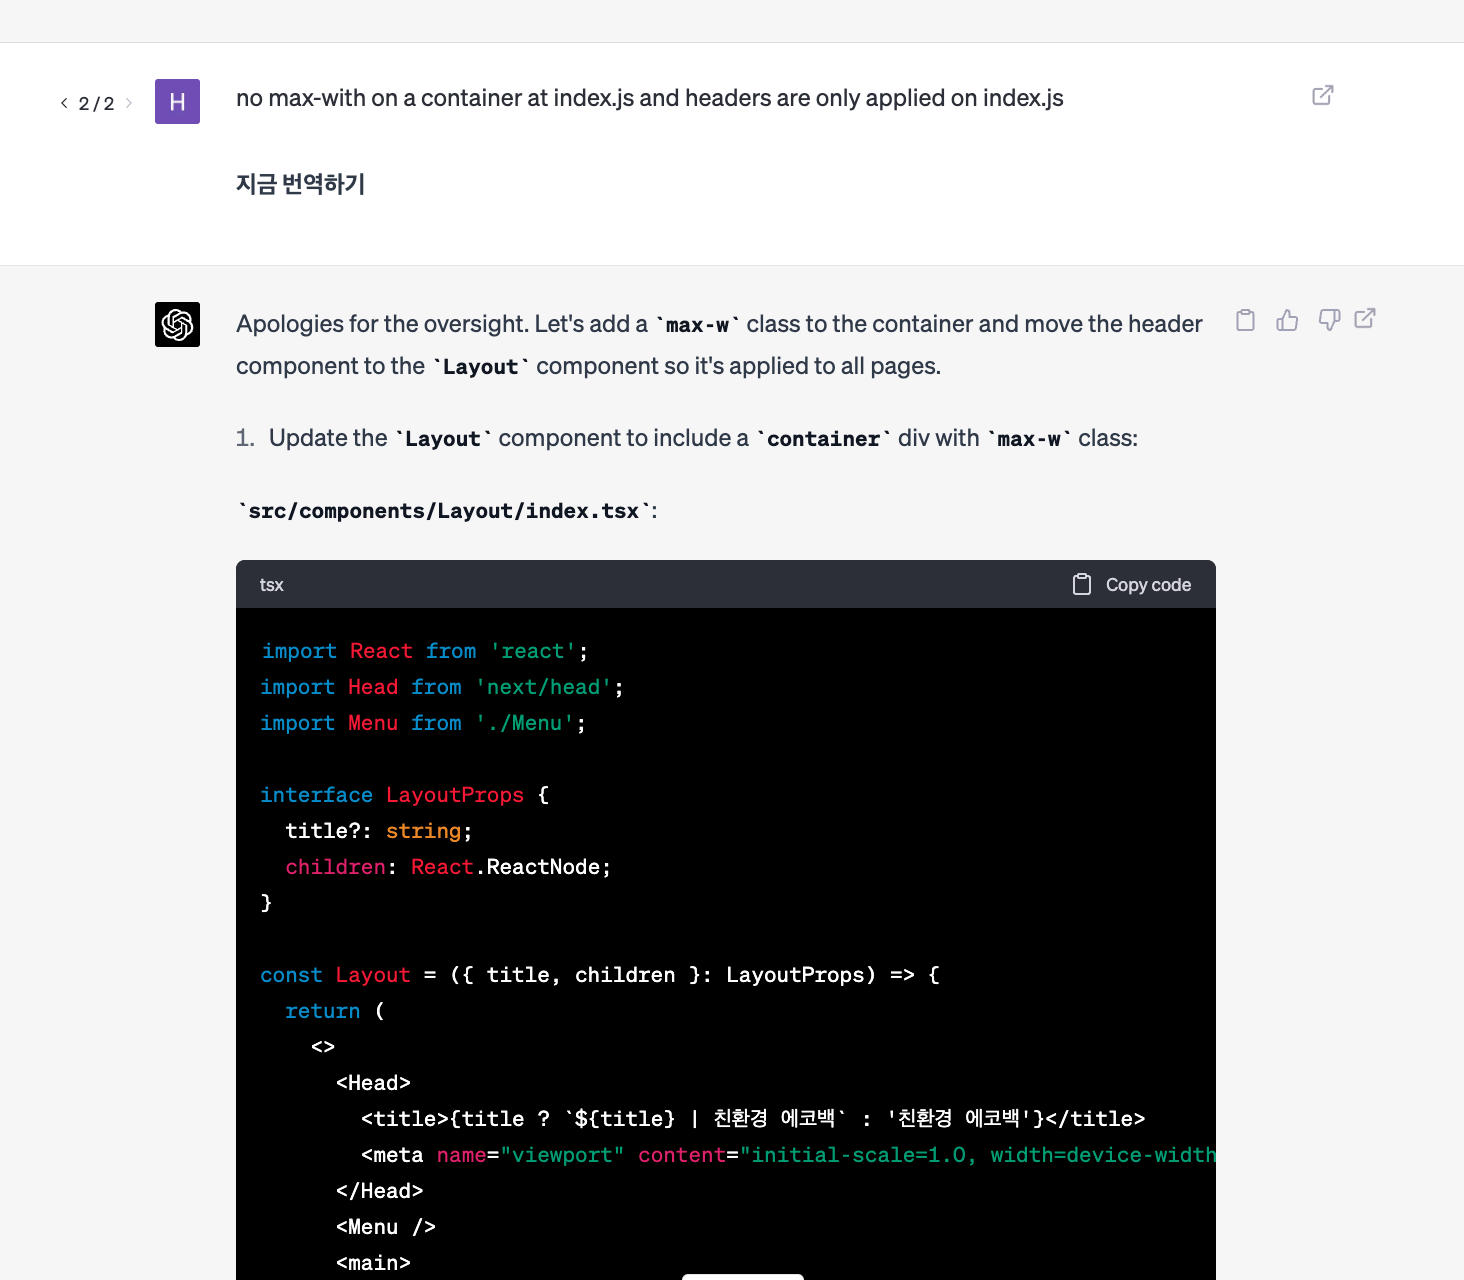
4) UI 개선
간단하지만 body에 max width 가 지정 안된걸 보고 조정 해달라고 요청 했습니다.
no max-width on a container at index.js and headers are only applied on index.js
6. 테스트 및 수정 보완 작업
지금까지 작성된 코드들을 가지고 테스트를 해보고 수정 보완 작업을 반복 하며 완성도를 높일수가 있습니다. 에러를 직접 입력하거나 오류 상황을 설명하거나 특정 기능이나 컴포넌트 작성을 요청 하면 잘 수정을 해줍니다. 큰 프로젝트의 경우 토큰 한계가 있으니 적당한 단위로 나누어 시도를 해볼수도 있습니다.
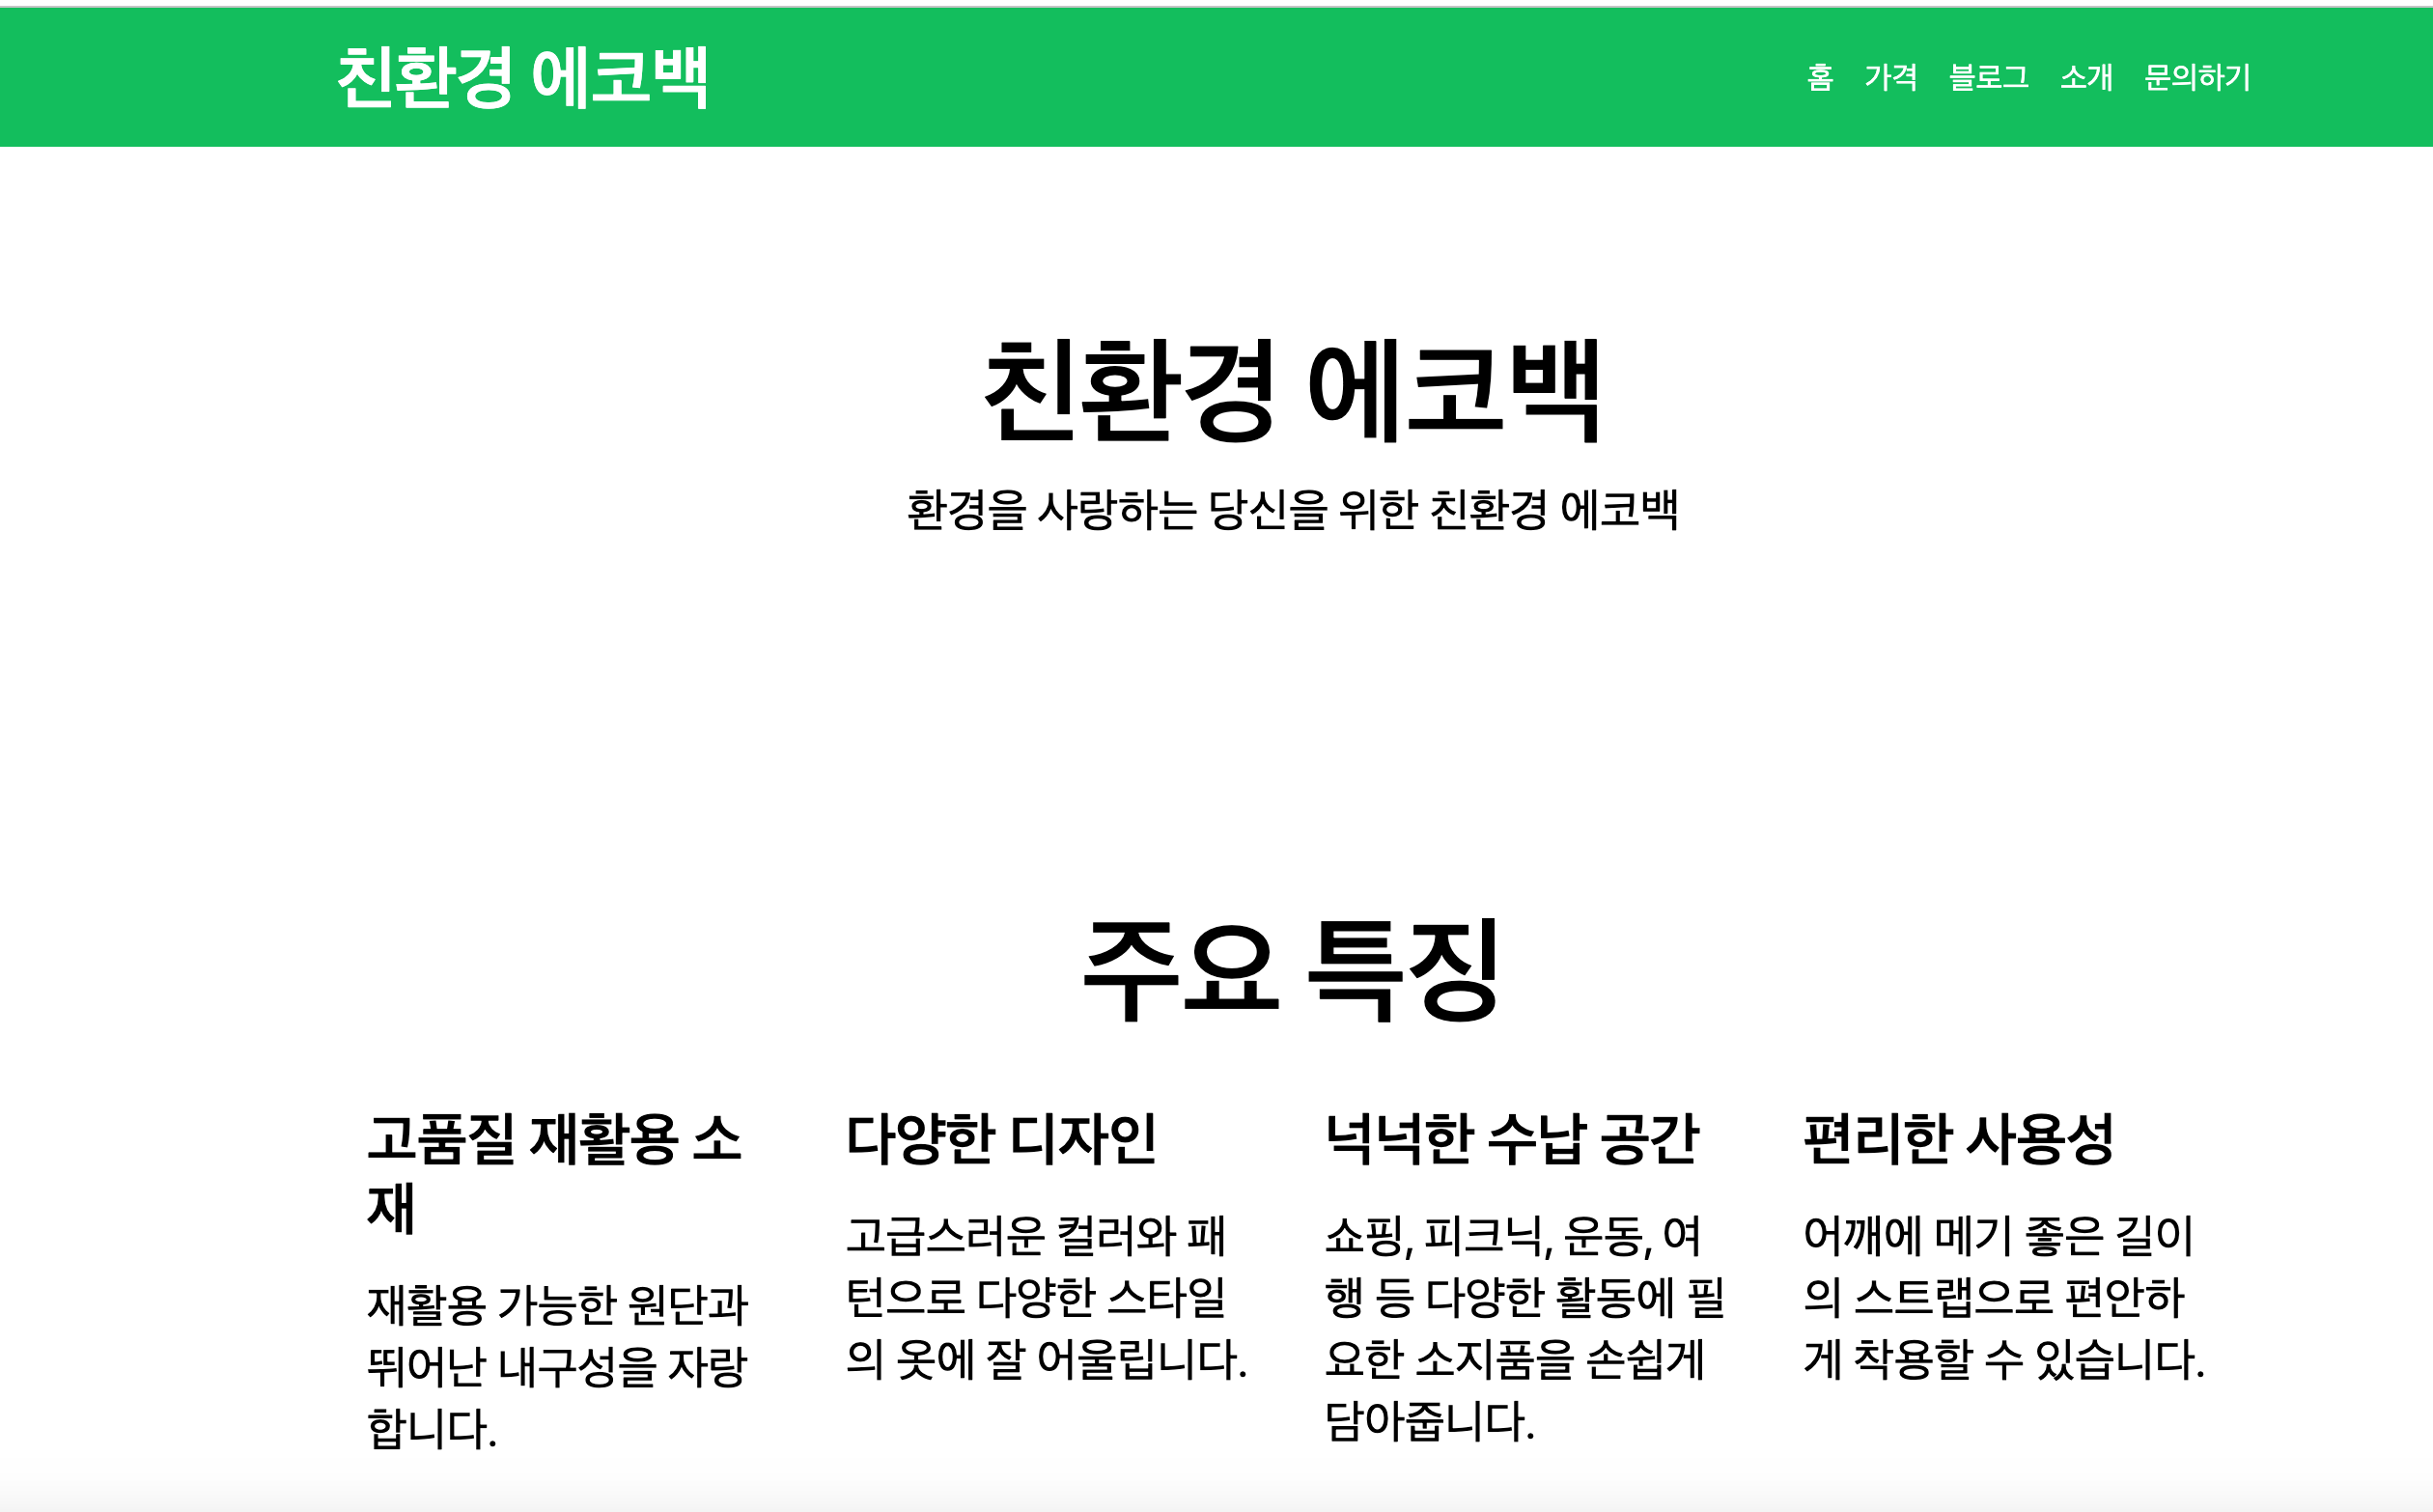
그럼 완성된 페이지를 보여드려보겠습니다. UI만 보면 아쉬운 부분이 있지만 그래도 적당히 위치도 잘 잡아주고 레이아웃도 잘 잡아주고 기능도 잘 작동하는 랜딩 페이지를 만들수 있었습니다.
https://study-examples-product-landing-page.vercel.app/
5. 마치며
지금까지 ChatGPT와 함께 Next.js, TypeScript, TailwindCSS 로 제품 랜딩 페이지를 간단하게 만들어 보았습니다. 간단한 페이지만 프롬프트만으로 쉽게 만들수 있어 인상적이었고 랜딩페이지의 섹션과 컴포넌트는 이미 정형화 되어 있어 프롬프트를 통해 쉽게 작성을 할수 있겠다는 생각이 들었습니다. 그리고 기본 랜딩 구조는 프롬프트로 대략 잡아두고 필요한 기능들을 추가로 붙여나가는 것도 좋은 방법이라는 생각이 들었습니다.
참고로 완성된 소스 코드는 GitHub 링크에서 확인 하실수 있습니다.
사용했던 ChatGPT프롬프트는 링크에서 확인 가능 합니다.